by Matthew DiRienzo
Arweave for Beginners: How to Buy Arweave Tokens
How to Buy Arweave Tokens
Read more
26 Apr, 2024

Bithiah Koshy
2 min read
Arweave is known for its permanent data storage infrastructure. It offers a revolutionary approach to storing NFTs, ensuring the accessibility of digital assets. Unlike traditional blockchains, Arweave's permaweb guarantees secure and censorship-resistant storage for NFT data.
There are a variety of applications that support ArConnect within the Arweave ecosystem. Some NFT marketplaces include but are not limited to Pianity, Art by City, and BazAR.
Preservation on Ownership: The permanence of data storage is a key advantage of storing NFTs on Arweave. Arweave’s blockchain architecture allows NFTs to be stored permanently, eliminating the risk of data loss or tampering. And with a low-cost storage model, it makes itself very accessible to a wide range of creators and collectors.
Beyond Traditional Storage: The ecosystem offers ways to enhance NFT storage and management. With protocols like the Universal Data License (UDL) and the Universal Content Marketplace (UCM), creators have greater flexibility when monetizing and distributing their NFTs, while collectors benefit from decentralized and transparent trading platforms. These features bring community engagement, which is the key driving force for the NFT experience.
Before acquiring and storing NFTs on Arweave, one must create or obtain them. After minting, the NFT's metadata are uploaded to the Arweave network and converted into a transaction. Miners on the network then verify and add this transaction in a block, which is added to the existing blockweave. This ensures that they can be accessed permanently and cannot be changed.
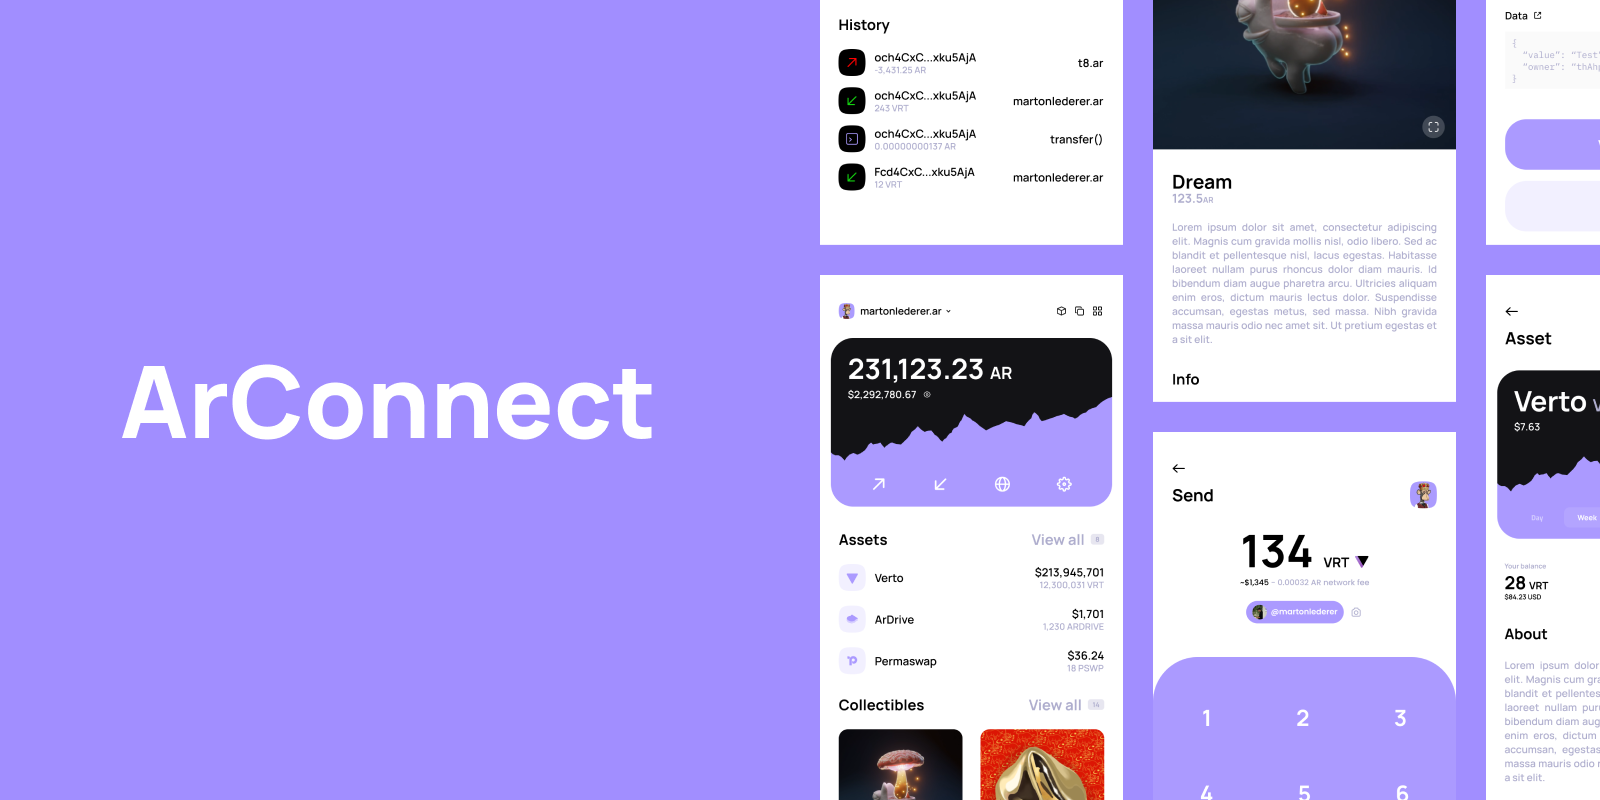
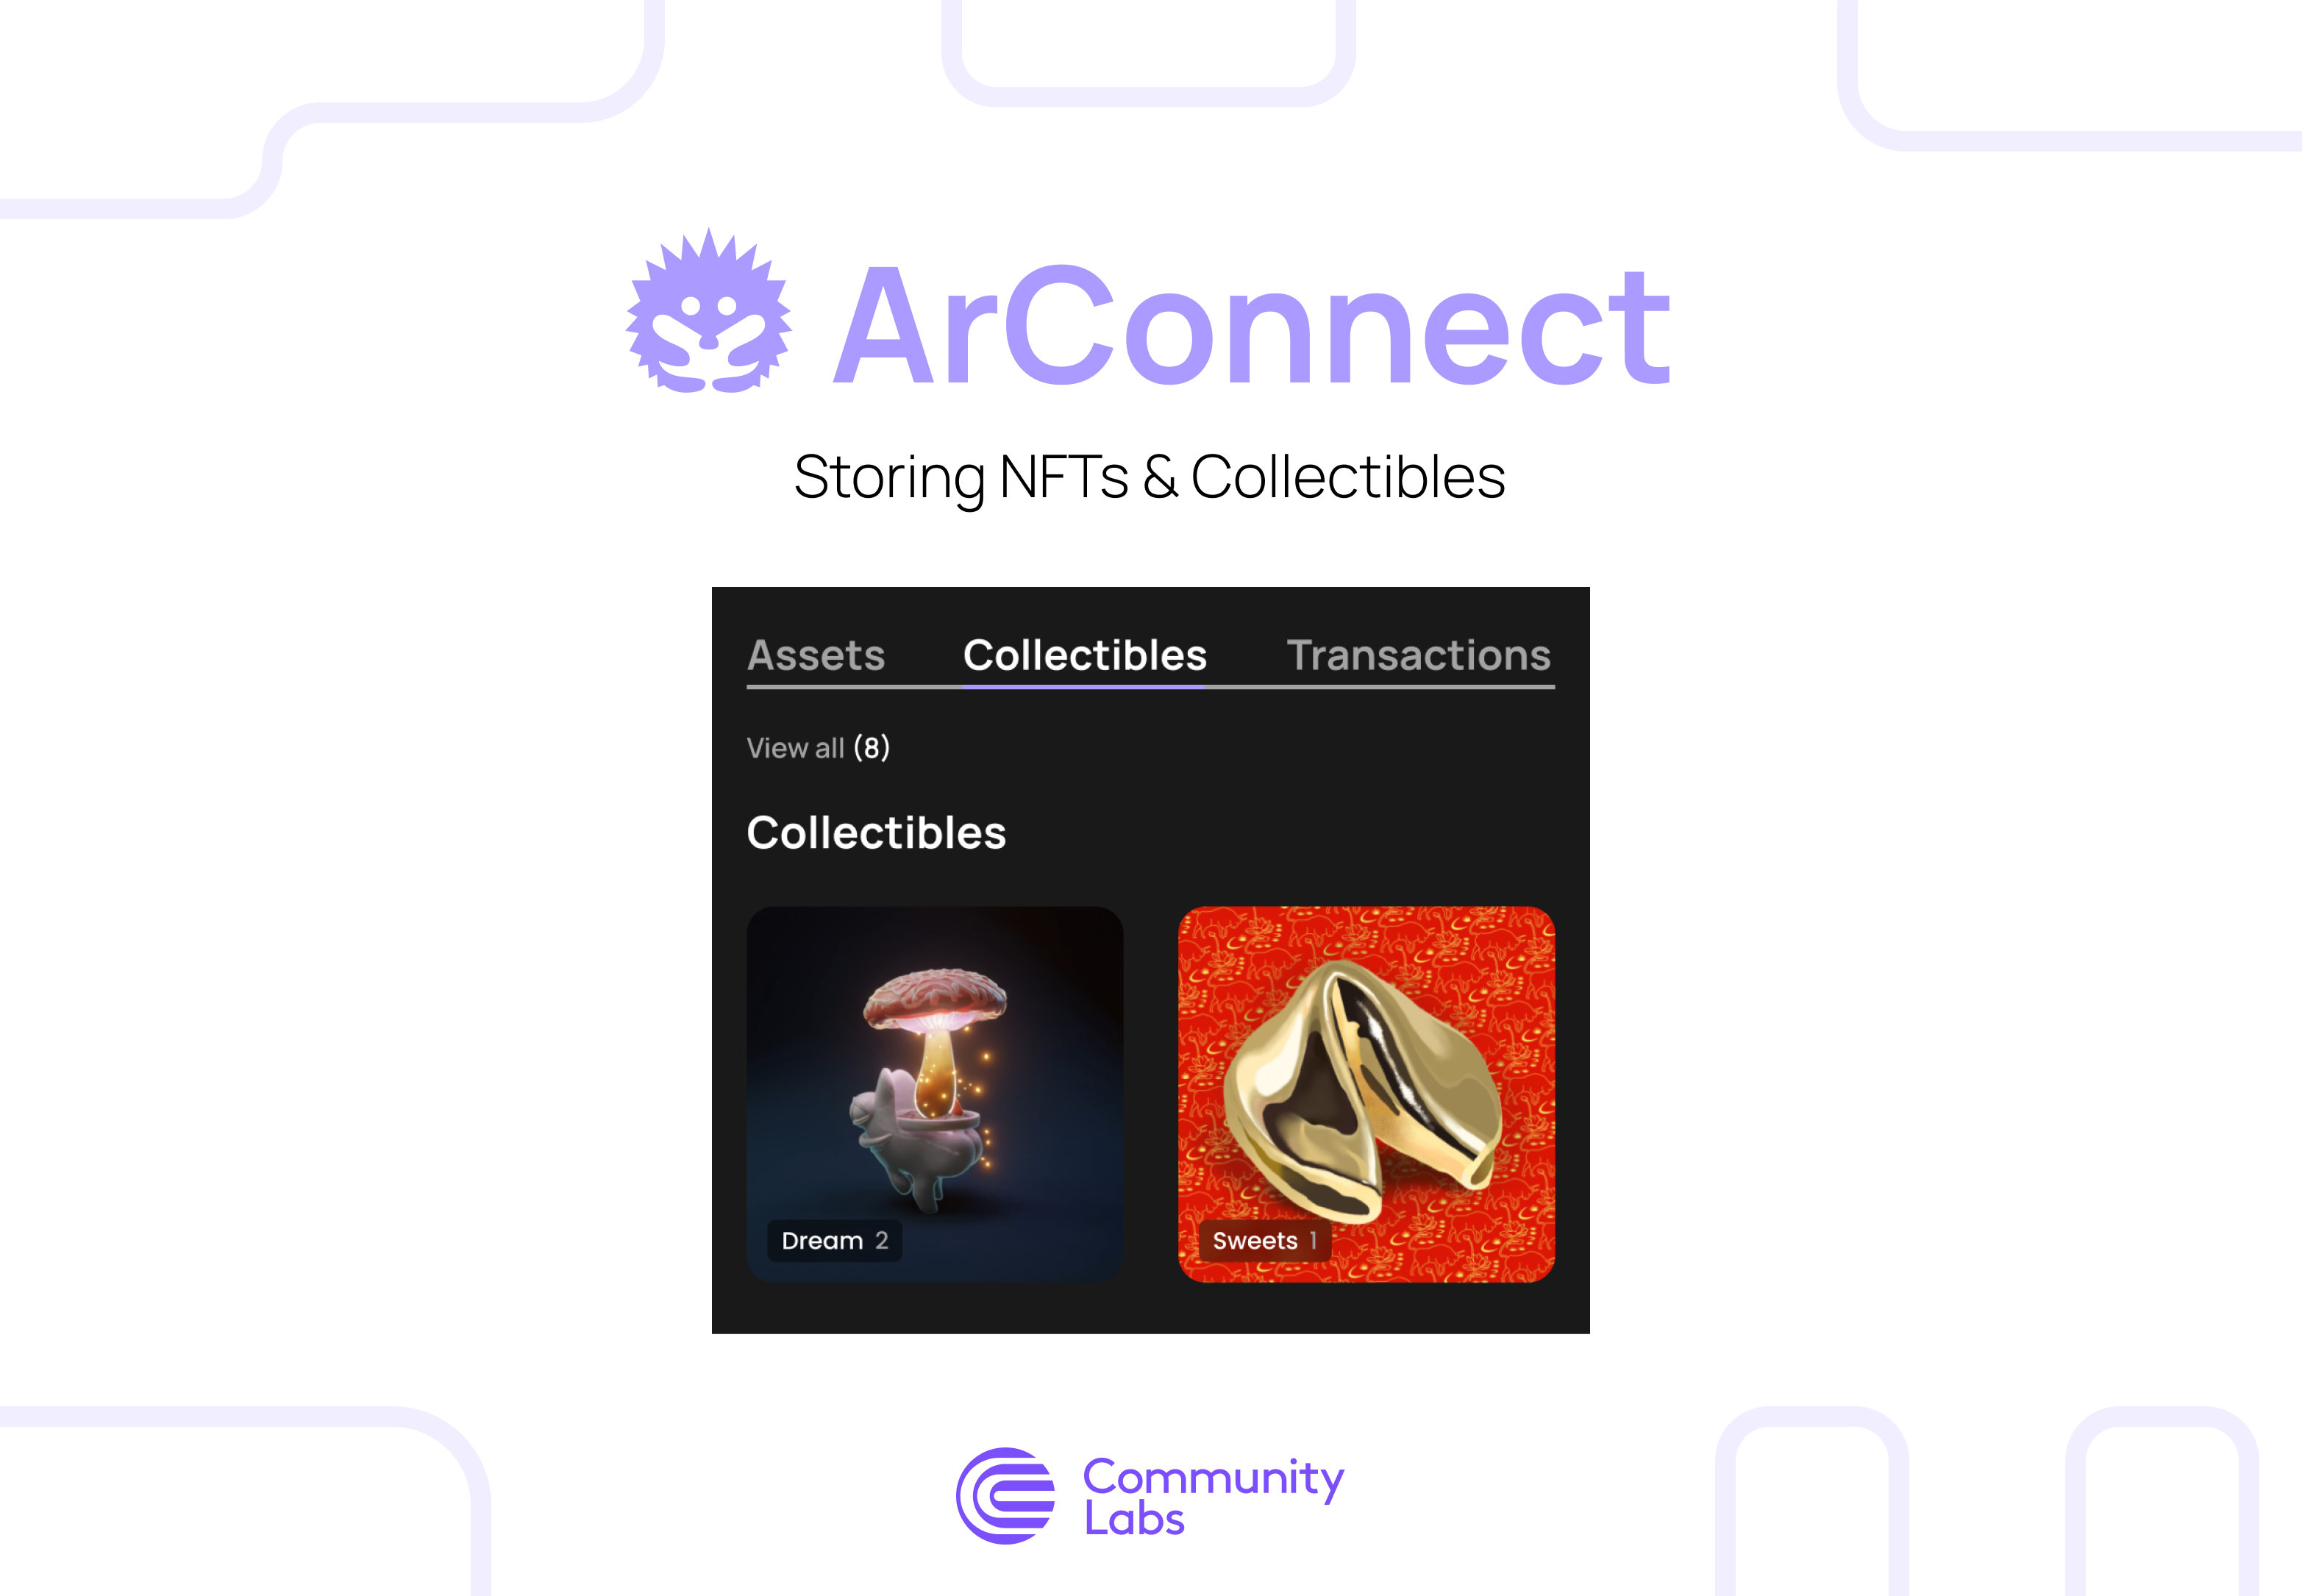
Viewing: Once the NFT has been obtained, you will be able to view it on the ArConnect under the Collectible section:
1 . Open ArConnect and go to Settings.
2. Head to Tokens and click Import Token.
3. Put the token type as Warp Token, choose Collectible, and enter the NFT contract address (Warp Address).
4. Click Add Token.
5. Go back to your Dashboard and view your new NFT
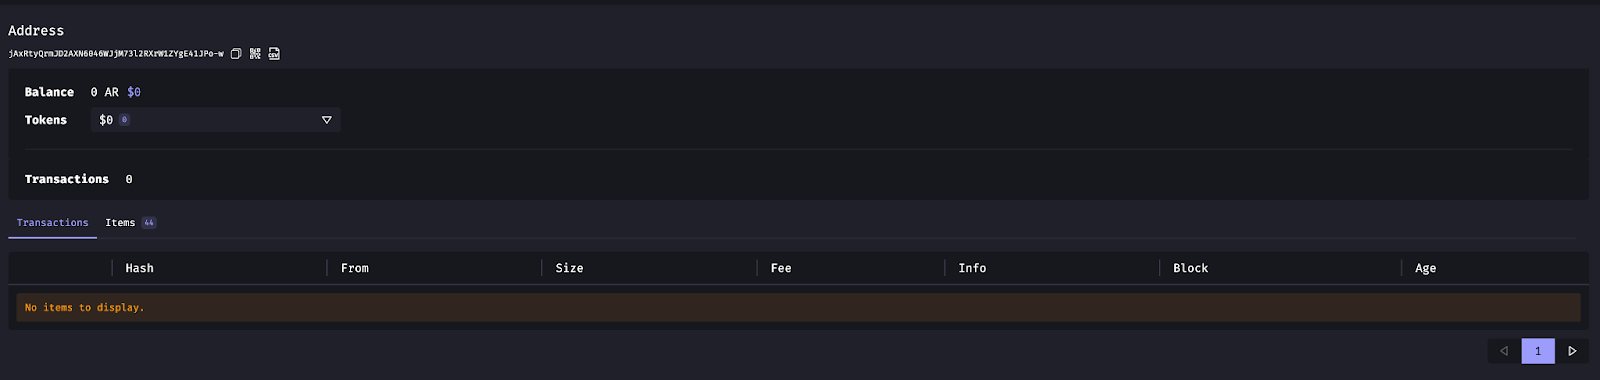
To view your own minted NFTs onchain, go to ViewBlock and you’ll be able to see all of your own transactions, which includes NFTs. You can also simply enter in the search bar the transaction ID and select the transaction.
Ready to dive into the world of Arweave? Join over 20,000 users who are already navigating the world of Arweave with ArConnect. Start by creating an account at ArConnect.
Looking for assistance or eager to join the community? Visit our Discord server for support and engagement.
And stay updated with the latest developments by following us on X.
We use cookies to better understand customer needs